Showing posts with label art. Show all posts

Tuesday, December 16, 2008

another watercolor creation, with directions!


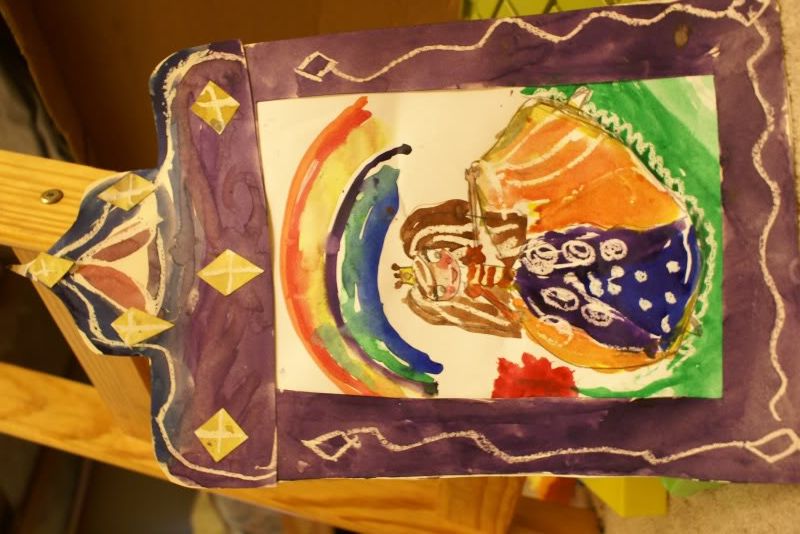
I wanted to share this cool princess watercolor Aiyana made the other day and some easy tips to get cool effects with your own kiddos. Aiyana's specialty is drawing princesses, fairies, ballerinas... you get the picture. Then, she loves mixing mediums- crayons, pencils, scrap paper, material, paint, etc. I really like the awesome mix of effects.

Here are the steps she took to create this painting:
  1. She drew the princess lightly in pencil (i like how the legs are doing a little ballerina dancing action)
  2. Then she took a white oil pastel crayon (will also work with a regular white wax crayon) and added designs and details to the dress and hair (see the circles, lines, and ruffles?). This is the cool part.
  3. Then she painted over it with watercolors- lots of colors is always best (we think so!) as you get awesome blended effects you don't get with crayons. that's the point of watercolorin' if you ask me.
  4. Lay to dry (flat! remember, they're WATERcolors: flowy, drippy, messy.) somewhere out of reach of your pillaging toddler whom you have renamed, "Destructor".

The frame was made in a similar fashion, 'cept it involves a bit of cutting, glueing, and constructing. You can use a light cardboard (we used a manila file folder. I got a box of these babies for just $2 and they have been SO useful for so many projects. See the linedancin' cow-people for another example).
  1. Put your dry (or, almost dry if you're as impatient as I am) painting on top of the cardboard and trace around it. Make sure the front side of the "frame" is facedown.
  2. Once you find your ever-missing pair of scissors, stab (or gently snip) a small hole in the middle and cut around the traced lines, leaving 'bout a 1/8 of an inch or more between the line and your cut edge.
  3. Now, for a fancy top. Take your homemade frame piece and place it on top of another piece of cardboard, marking the width where the top of your frame will be (horizontal or vertical?). From here, you can draw any sized fancy top to the frame, but make sure the width of the frame stays the same. Again, the front side should be face-down.
  4. Cut the brilliantly ornamental frame-top out and glue it on top of the frame you made just mere minutes before.
  5. If you want to get more crayon/watercolor effects, do so now. Then paint it all one color so it appears as seamless as possible.
  6. You can add a backing to the frame by using more cardboard, then writing your inscription (if it's a gift) on the back.
Hope you have fun! This project took just 10-20 minutes, depending on how picky your child is about their art. Mine are picky. All of their pencil tops are wore down to a nub and we own a lot of erasers.

Monday, December 15, 2008

Natural resources...

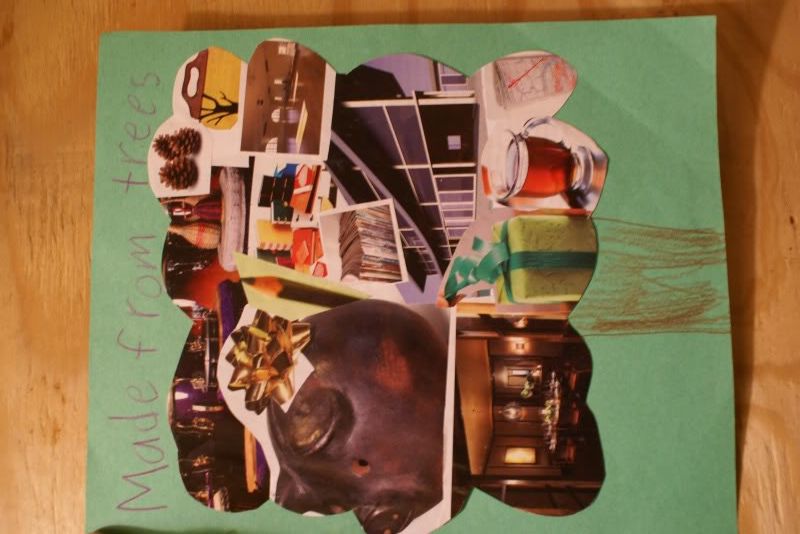
I think the first step to teachings kids about conservation and waste is leading them to an understanding of what natural resource are and why they are so important to us. The supplies for this project were easy to find: construction paper and used magazines to cut up (glue the magazine cut-outs to a piece of paper, then cut that into the shape of the "leaves" before glueing that onto the colored paper.) Some of the interesting items she found were pics of tea, a map, drums and other instruments. We also thought it was neat that the very pencils and papers we used, and the air we breathe, also came from trees. Trees are quite extraordinary! (What? Haven't you read the Chronicles of Narnia or Lord of the Rings?)

Since the drought here in California has been pretty bad, we also did a poster on how to conserve water at home.

Independence Day


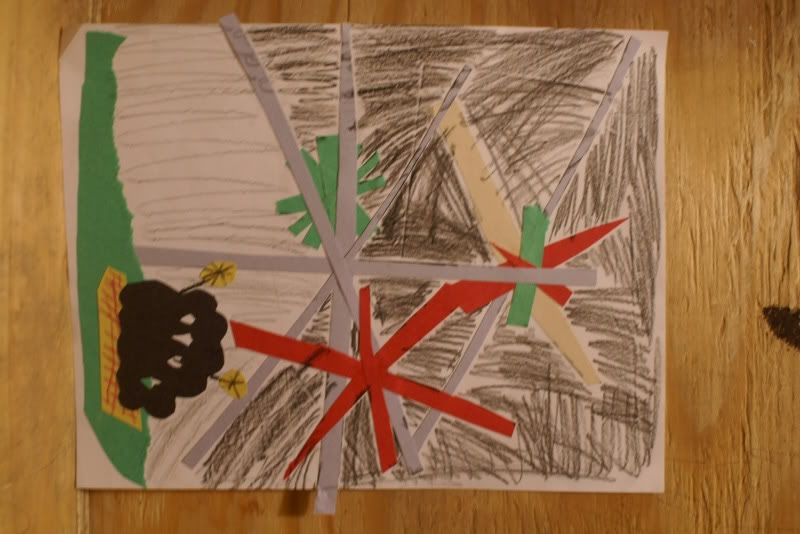
Aiyana made some artwork depicting how her family celebrates Independence Day. I helped with the black silouhette family (that's us) and she built the little fireworks from strips of scrap construction paper. I liked the way it turned out.... makes me smile. :)

Line-dancin' Cowpeople

Well, howdy there folks. Top o' the morning to y'all.


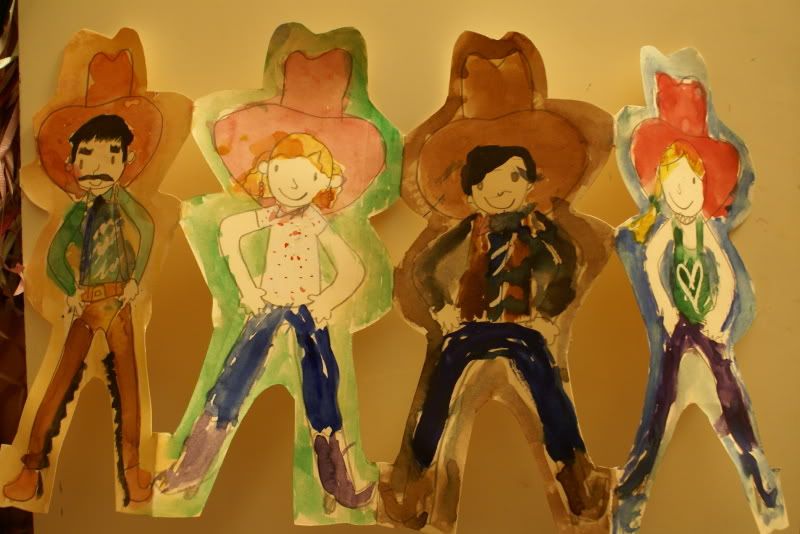
Today we bring you good people a samplin' of the kiddie book Cowboy Things to Make and Do to play to the gallery. Tell me this here Cowgirl didn't do a bang-up job on her art project. A careful inspection will reveal some grand watercolorin' skills. It ain't no shoddy crayon sketchin' and I ain't passin' no biased soft-solder 'cause she's my kid.
Uh... this cowboy slang is tough. What I mean is:
Today we're showing off a sample project from the children's book Cowboy Things to Make and Do. Didn't Aiyana do a super job on her art project? She's getting pretty good with the watercolor painting (I love watercolors... the sloppier the awesomer in my book). It isn't a typical crayon drawing... and I'm not giving biased flattery because she's my kid.


And now for the shameless plug. Besides this fabulous string of line-dancing' rodeo cowboys n' girls, the Cowboy Things to Make and Do book from Usborne books shows you how to make 17 other rootin' and tootin' stuffs (a showdown collage, a cowboy hat, a saloon door card and dancing cowboys, and more), plus comes with two pages of colorful cowboy stickers to decorate your activities. Every activity is clearly and vividly illustrated in an appealing and colorful style, with easy-to-follow step-by-step instructions.
And the best best part? It's only $6.99. Awesome!


template by suckmylolly.com